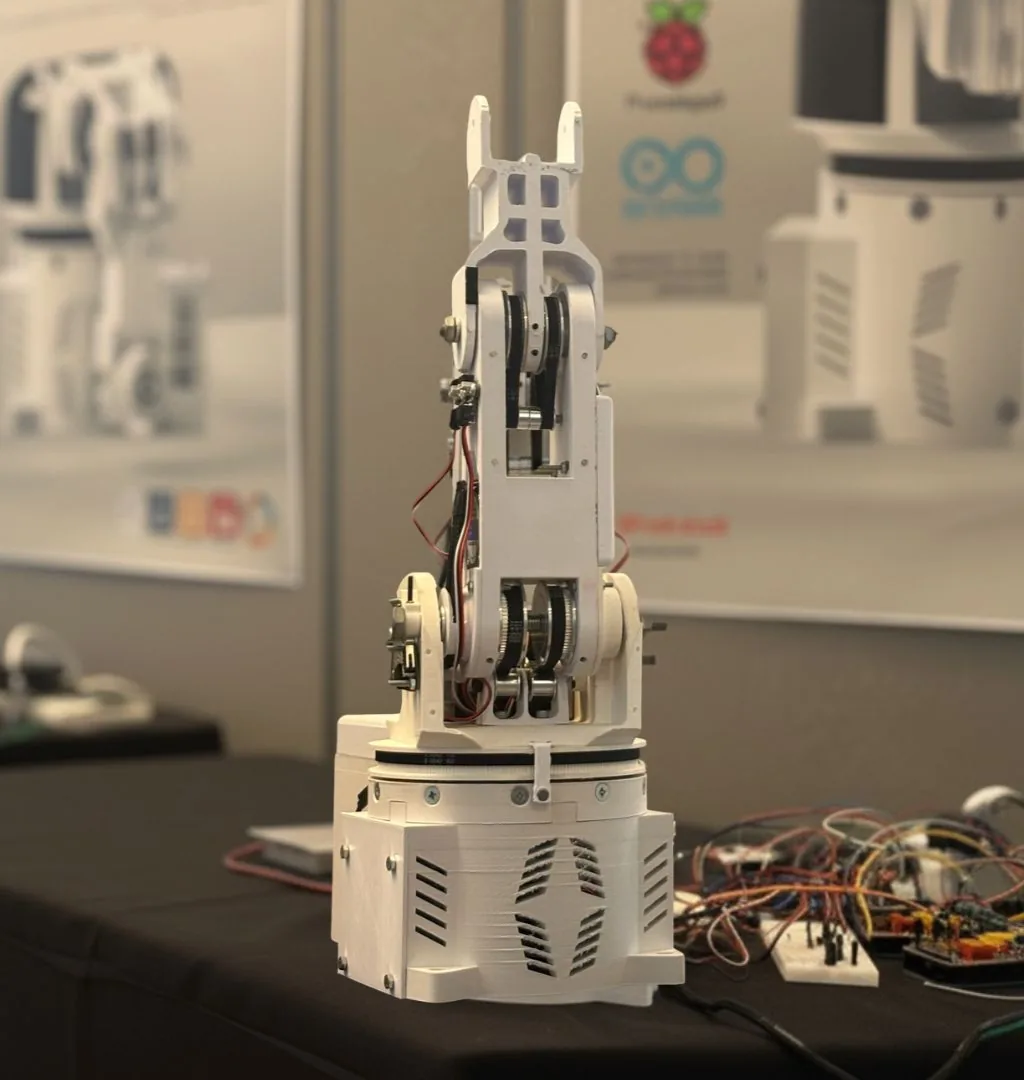
How do you 3D print a full robotic arm - over 100 parts, strong enough to lift itself - on a student budget?
Dan Slaney, a mechanical engineering student at Bournemouth University, designed a full working robotic arm and gripper for his final-year project. His university's own printing was slow and expensive, so he brought it to us. We dialled in the tolerances so all 100-plus printed parts fit together, worked out that the electronics housing needed heat-resistant ASA, and printed the lot, including the parts strong enough to carry the full weight of the arm. It ran at BU's Festival of Design and Engineering (FODE), where the project won an award. Students get 10% off with us.
Who is Dan Slaney?
Dan Slaney is a mechanical engineering student at Bournemouth University. For his final-year project he set himself a proper engineering challenge: design and build a full working robotic arm, from the rotating base to the gripper, and have it running for the university's Festival of Design and Engineering (FODE), the annual showcase where final-year students put their projects in front of industry, employers and the public at BU's Talbot Campus. Dan had the design. What he needed was a way to turn more than a hundred CAD parts into physical components that actually fit and held together, without the cost and the queue of the university's own workshop.
About FODE at Bournemouth UniversityOver 100 printed parts that all had to fit, and electronics that ran hot.
A robotic arm is an unforgiving thing to 3D print. Dan's design broke down into more than a hundred separate parts, from joints, brackets and housings to the rotating base and gripper, and every one had to fit the next to within a fraction of a millimetre or the whole arm binds. Get the tolerances wrong on a batch that size and you are reprinting for weeks.
Two things made it harder. The electronics and PCB in the base ran hot in use, so their housing could not be printed in a plastic that would soften or warp around them. And several structural parts had to carry the full weight of the arm as it moved and lifted, so "looks about right" was not good enough. All of it had to be finished, assembled and working in time for FODE.
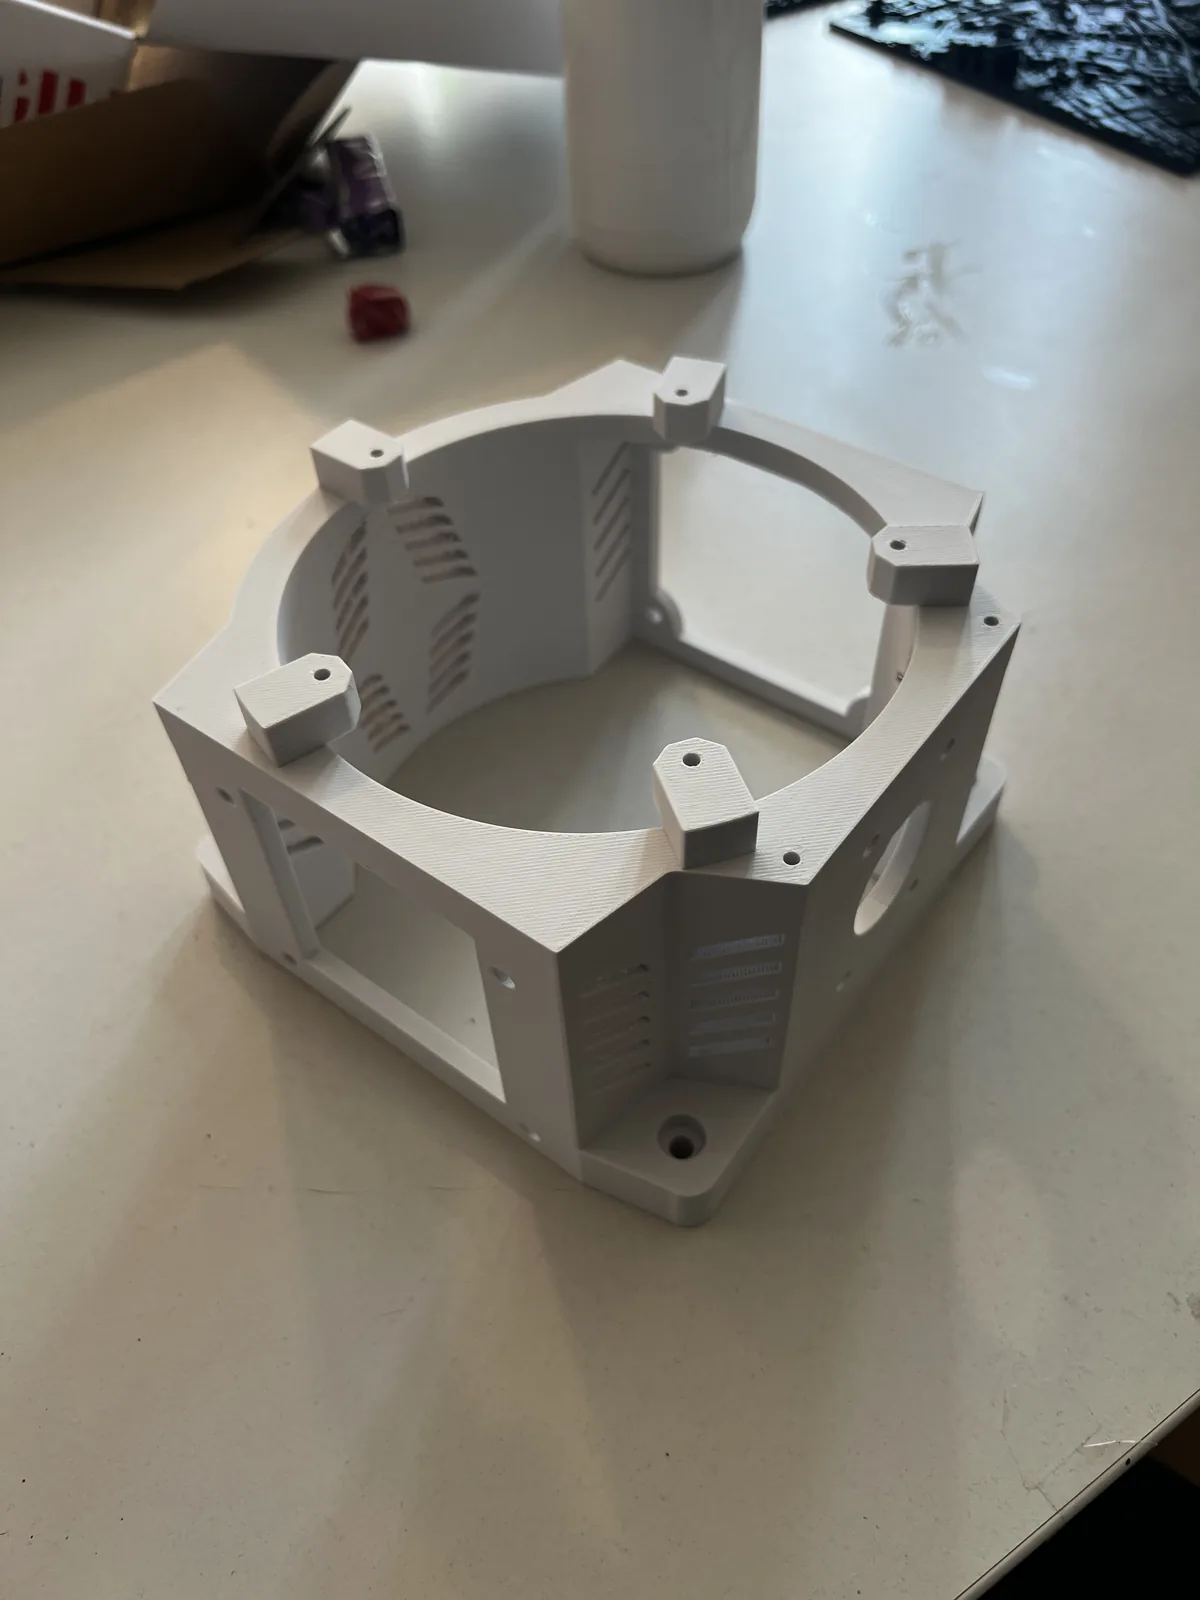
Tolerances dialled in, ASA where it ran hot, every part printed to fit.
We went through Dan's design part by part and set the tolerances for 3D printing, so the hundred-plus components would slot, mesh and bolt together rather than needing rounds of filing and reprinting. For the base, where the electronics and PCB gave off real heat, we specified ASA, a tough polymer that holds its shape at temperatures that would soften everyday PLA, and vented the housing so warm air could escape. The load-bearing parts were printed solid and oriented so the print layers run with the force rather than across it, giving them the strength to carry the full weight of the arm. Across the rest of the arm we used a mix of PLA, PETG and ABS, each chosen for what that particular part had to do. Then we printed the complete set at our Poole workshop, at a price a student could actually afford, and in time for the FODE deadline.
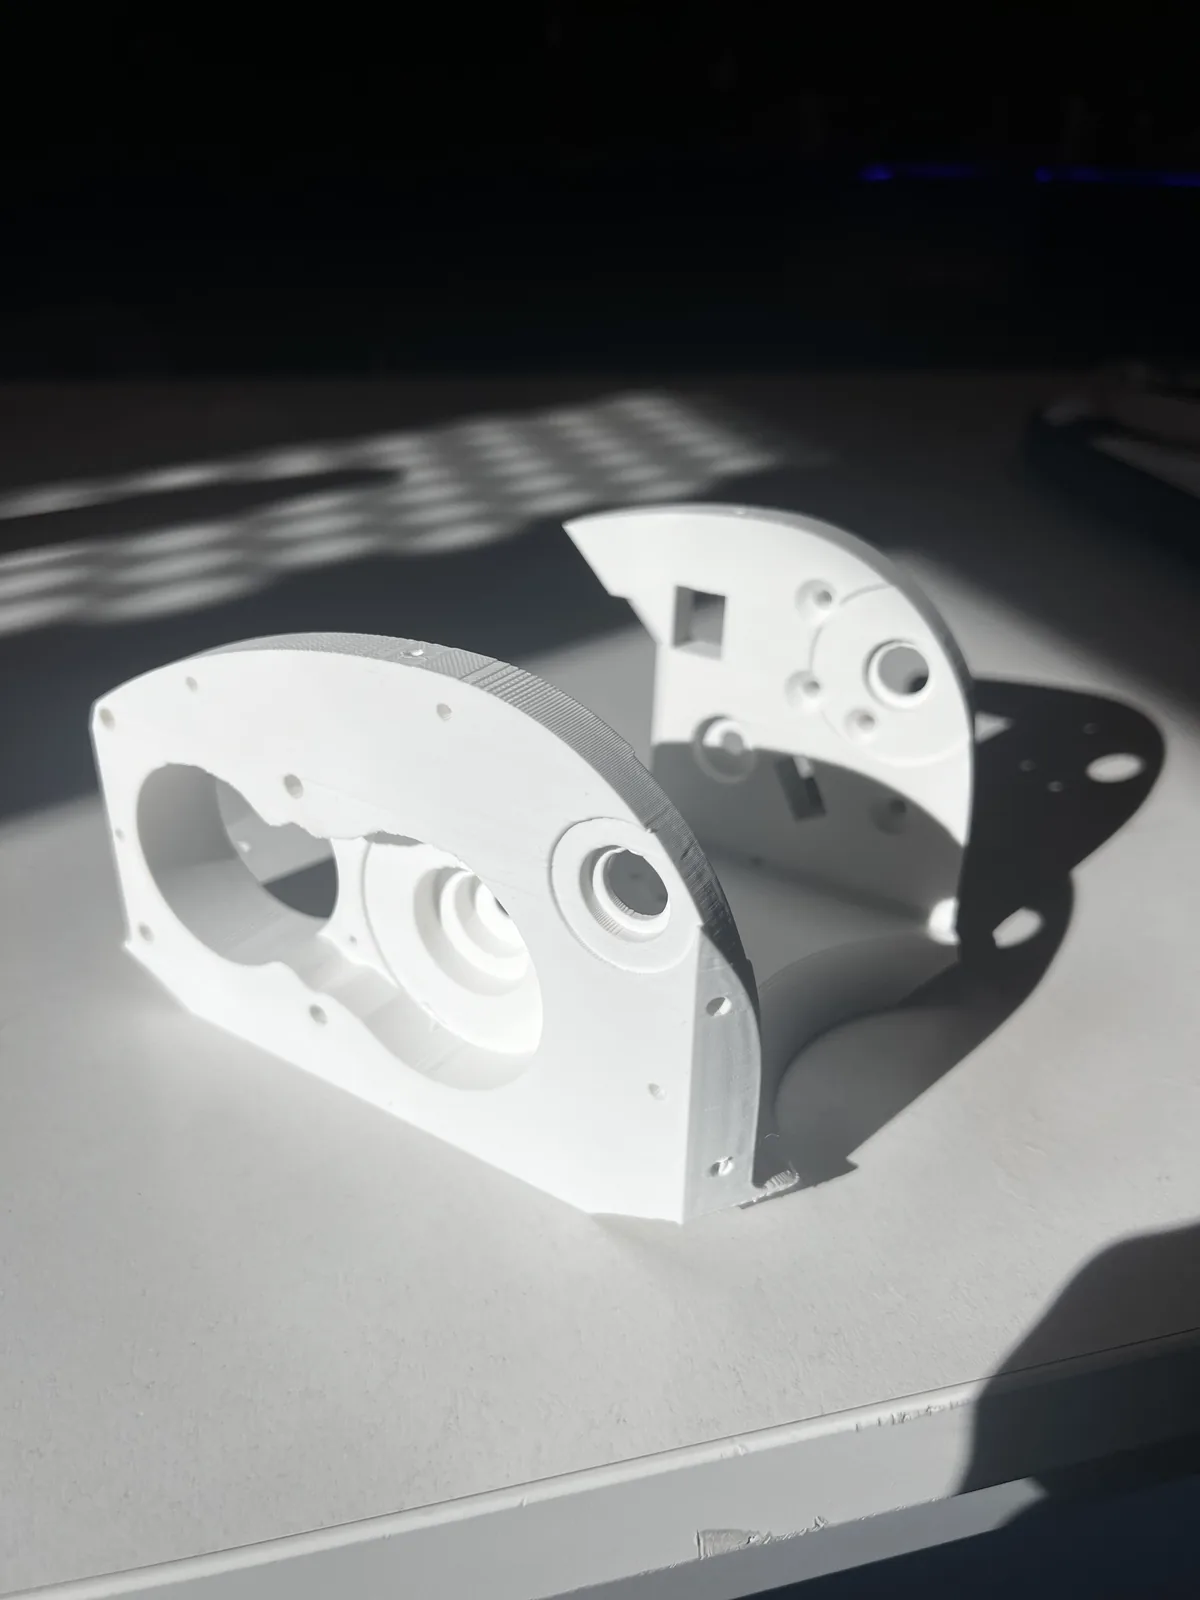
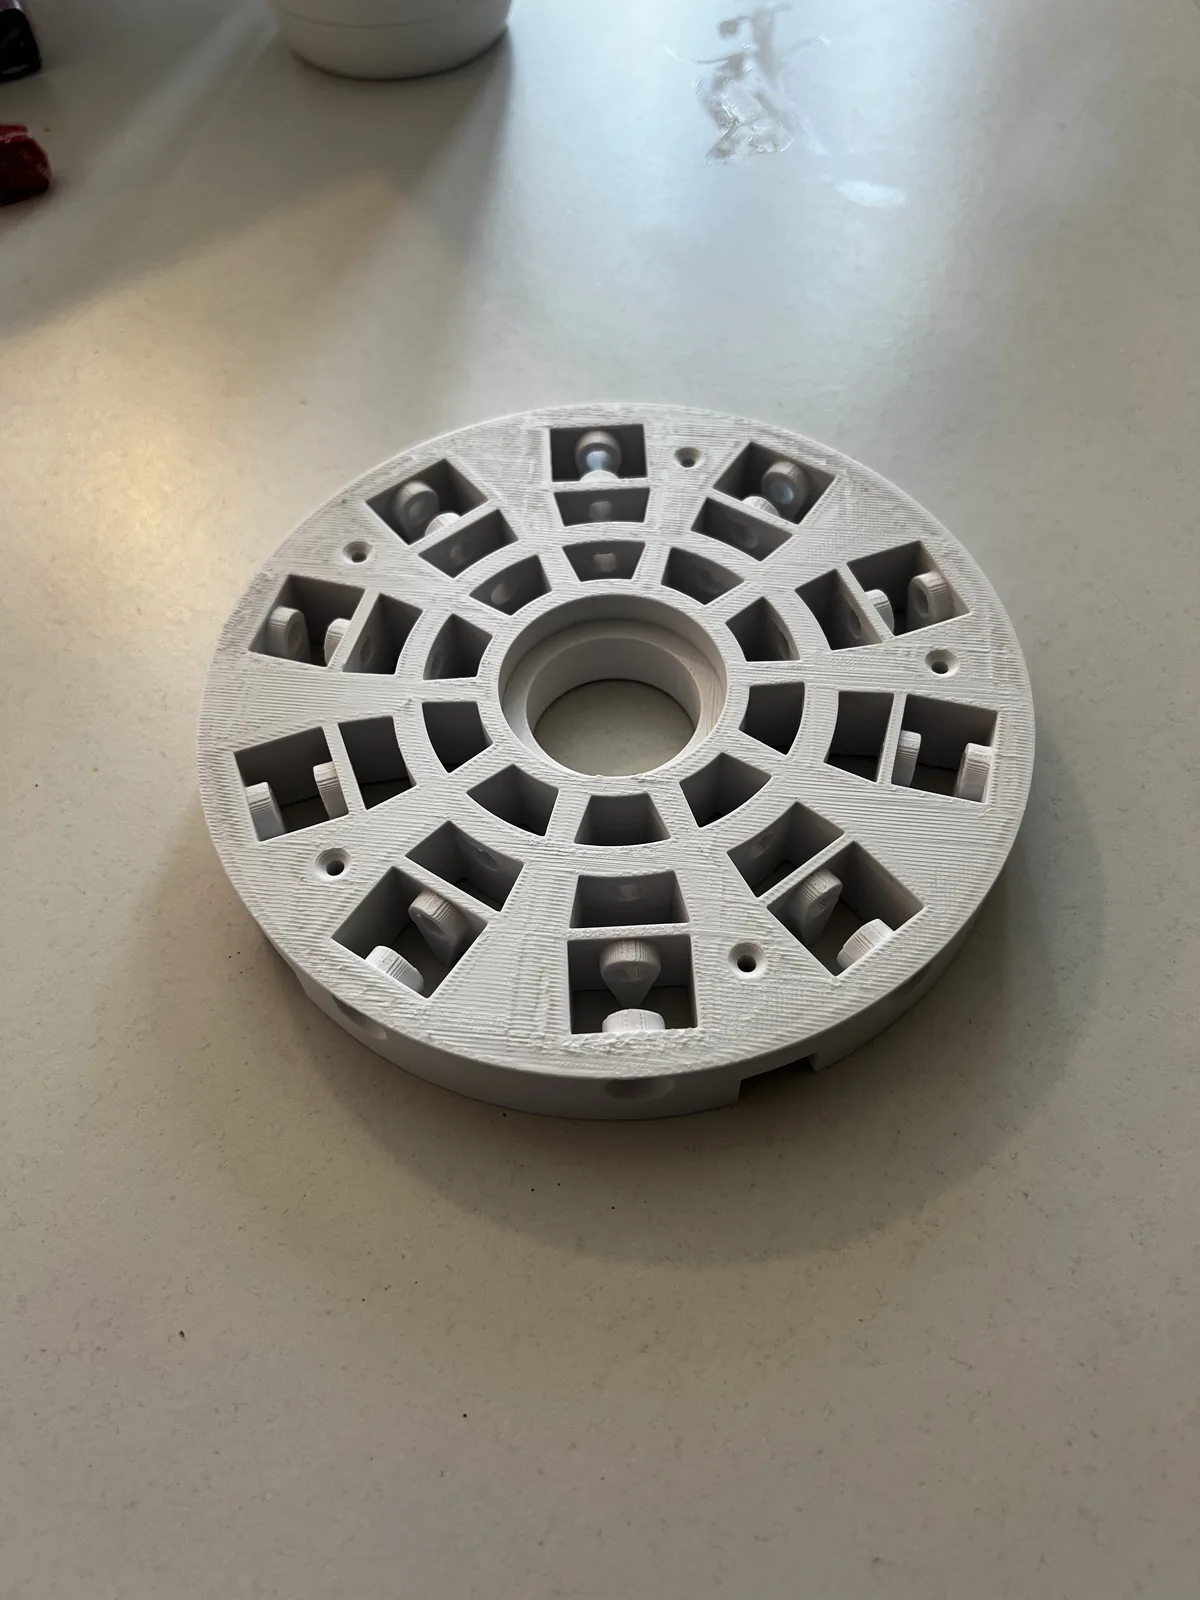
From CAD to a working arm. Here's how we ran it.
Every project at our Poole workshop follows the same structured process, whether it is a one-off student build or a production run. No surprises, just clean execution.
Design review
Dan sent his CAD. We went through the full assembly and flagged every fit that needed a tolerance set before it went near a print bed.
Step 1Material + heat call
We identified the electronics housing as the heat risk and specified ASA, venting it so the PCB could run cool without the enclosure softening.
Step 2Print for fit + strength
The full set printed at our Poole workshop, tolerances held across every part, load-bearing pieces oriented and filled to take the weight.
Step 3Assemble + FODE
The parts went together, the arm was built, and it ran at Bournemouth University's Festival of Design and Engineering.
Step 4
A fully working robotic arm, and an award at FODE.
Every part fit. The arm went together, the electronics stayed cool in their ASA housing, and the whole thing worked. Dan presented it at Bournemouth University's Festival of Design and Engineering, where the project won an award, and the university kept the arm afterwards.
| 3D Printing Express (what we did) | University's own printing | |
|---|---|---|
| Cost to a student | Per-part pricing, plus 10% student discount | Expensive for a project this size |
| Turnaround | Printed in time for the FODE deadline | Long queues, limited machine time |
| Getting 100+ parts to fit | Tolerances set for print, one coordinated run | Trial and error on shared equipment |
I never could have done it without you guys. Thank you for all your help.
Gallery From the project
4 photos · 3D Printing Express, PooleQuestions about 3D printing for student and engineering projects
Common questions about 3D printing for students and engineering projects. Our workshop is in Poole, Dorset, and we print for students at Bournemouth University, across the South Coast, and throughout the UK.
Can students get 3D printing done cheaper than at university?
Often, yes. University print shops can be expensive and heavily booked around deadlines. We print for students across Bournemouth and the UK at per-part prices, and we take 10% off every student order. For a big project like a robotic arm, that can mean getting the whole thing printed, on time, without the campus queue.
Can you 3D print a whole assembly with lots of parts that fit together?
Yes. This robotic arm was over 100 separate printed parts that all had to fit and move together. The key is setting the right tolerances for printing before anything goes on the bed, so parts slot and mesh first time instead of needing filing or reprinting. Send us the CAD and we will go through the fits with you.
What material do you use for parts that get hot, like electronics housings?
For anything that has to sit near heat, we use ASA. It is a tough polymer that keeps its shape at temperatures that would soften everyday PLA, so it is the right choice for an enclosure around a PCB or motor that runs warm. On this arm we also vented the housing so warm air could escape.
Can you 3D print strong, load-bearing parts?
Yes. Several parts of this arm had to carry its full weight as it moved. We print load-bearing parts solid and orient them so the print layers run with the load rather than across it, which is what gives a printed part its strength. Tell us where the forces go and we will build the part to take them.
Got a university or engineering project to print? Send us the brief.
We print student projects, prototypes and functional parts from our workshop in Poole, Dorset, for Bournemouth University and clients across the South Coast and the whole of the UK. Students get 10% off. You'll hear back from the two founders, not a form reply.